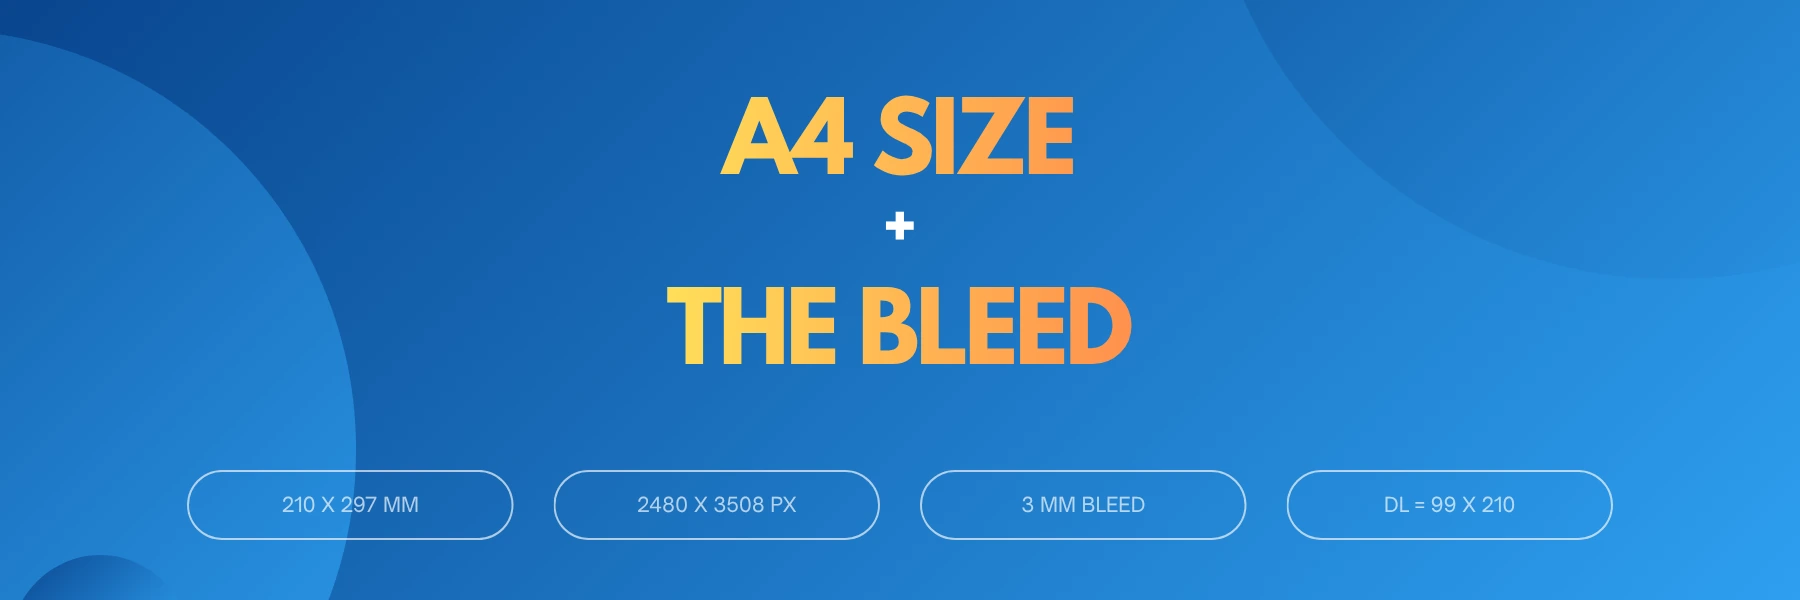
A4 size is 210 x 297 mm, which is 21 x 29.7 cm, and 2480 x 3508 pixels at 300 dpi. For print, add 3 mm of bleed on every side, so the file becomes 216 x 303 mm, or 2551 x 3579 pixels.
Below: bleed and pixel sizes for A3, A5 and DL in one table, where text should sit, why a DL flyer isn’t the size of a DL envelope, and which Australia Post letter size each piece fits.
Key takeaways
- A4 is 210 x 297 mm, 2480 x 3508 px at 300 dpi.
- Add 3 mm bleed each side: 216 x 303 mm.
- A DL flyer is 99 x 210 mm; the DL envelope is 110 x 220 mm.
- A DL envelope posts as a small letter; A5 and A4 go as large letters.
What size is A4 in mm, cm and pixels?
Adobe’s A4 guide puts it simply: “A piece of A4 paper measures 21 x 29.7 cm or 210 x 297 mm.” The A4 paper size is “defined by the international standard ISO 216”, the same standard behind every A size. Each step down halves the sheet, so A3 is twice A4 and A5 is half of it.
In pixels, Adobe’s figure is that “the A4 format of an image with a resolution of 300 dpi can be obtained with 2480 x 3508 pixels.”
Here are the a4 dimensions beside A3, A5 and DL.
Size | Trim size (mm) | Pixels at 300 dpi | With 3 mm bleed (mm) | With bleed, pixels at 300 dpi | Common use |
|---|---|---|---|---|---|
A3 | 297 x 420 | 3508 x 4961 | 303 x 426 | 3579 x 5031 | posters, counter displays |
A4 | 210 x 297 | 2480 x 3508 | 216 x 303 | 2551 x 3579 | letters, flyers, menus, brochures folded to A5 or DL |
A5 | 148 x 210 | 1748 x 2480 | 154 x 216 | 1819 x 2551 | flyers, booklets, handouts |
DL flyer | 99 x 210 | 1169 x 2480 | 105 x 216 | 1240 x 2551 | rack cards, letterbox drops, DL envelope inserts |
Pixel sizes are our working at 300 dpi. Check your printer’s file guide; some ask for more bleed.
So the a4 size in mm is 210 x 297, the a4 size in cm is 21 x 29.7, and the a3 size is 297 x 420 mm. The trim size is the finished size after cutting. The bleed columns are what you actually set up in your design file.
What is bleed, and why do printers want 3 mm?
Bleed is extra artwork past the edge of the finished page. Any colour, photo or shape that touches the edge has to carry on a little further, past where the paper will be cut.
Adobe’s print bleed tutorial describes it in two steps. You extend your design “so it’s slightly larger than your finished print size”, then add crop marks that show where to trim. “The excess will be trimmed off after it’s printed”, and the design covers the whole page.
That margin is insurance. A cut that lands a fraction off still lands on your design, not on blank paper. Without bleed, a background that stops exactly at the edge can leave a thin white line along one side.
Why 3 mm? Adobe calls it standard, but notes that “some print providers may require a larger bleed area”. In bleed printing, your printer’s file guide is the final word.
Bleed applies to every side. On A4 that means 3 mm added top, bottom, left and right, so 6 mm on each measurement: 210 becomes 216, 297 becomes 303.
What is A4 size in pixels with bleed?
At 300 dpi, A4 with 3 mm bleed is 2551 x 3579 pixels. Use that canvas if you design in pixels and export to print.
Every pixel figure in this guide uses the same working: millimetres divided by 25.4 (to get inches), multiplied by 300, then rounded to the nearest pixel. We use 300 dpi because that’s the resolution Adobe’s A4 example uses. If your printer’s file guide asks for a different resolution, run the same sum with their number.
The same rule covers photos you place on the page. A photo filling the top half of an A4 page (210 x 148.5 mm) needs about 2480 x 1754 pixels to print at 300 dpi. A smaller image stretched to that size will look soft on paper, even if it looked sharp on screen.
If the file is only ever going on a screen, a website or a social feed, the sizes that matter are different. Our guide to social media image sizes covers those.
Where should text sit on an A4 page?
Think of an A4 print file as three nested boxes:
- Bleed, 216 x 303 mm. The outer edge of the file. Backgrounds and full-edge photos run out to here. Everything in this strip gets cut off.
- Trim, 210 x 297 mm. Where the paper is cut. This is the finished page.
- Safe zone, inside the trim. Where text, logos, phone numbers and QR codes live.
Our recommendation is to keep the safe zone 3 to 5 mm inside the trim. On A4 with a 5 mm margin, that leaves a text area of 200 x 287 mm. It isn’t a printing rule, just a margin that keeps a slightly off cut from clipping a letter or a logo.
A common mistake is a phone number or web address set right on the edge of the page. It looks fine on screen. On paper, a small trimming shift can take the last digit with it.
Is a DL flyer the same size as a DL envelope?
No, even though they share a name.
- A DL flyer is 99 x 210 mm. That’s a third of an A4 sheet: 297 divided by 3 is 99.
- A DL envelope is 110 x 220 mm. It’s made to hold an A4 sheet folded into thirds.
Some size guides list the envelope’s measurements as the DL size, as if 110 x 220 mm were a third of A4. It isn’t. If you design a flyer at 110 x 220 mm, it’s no longer a third of A4, and it has no room to slide into the envelope it was named after.
So the dl size for a flyer is 99 x 210 mm, or 105 x 216 mm with bleed. Design to that, and it fits a DL envelope with room to spare.
A4, A5 or DL: which size suits your job?
A quick guide, based on how each size is usually used:
- Letter or quote: A4, the everyday paper size, which folds into thirds for a DL envelope.
- Letterbox flyer: DL or A5. A5 gives you more room for a photo; DL is slimmer and goes straight into a DL envelope.
- Flyer for a noticeboard or a counter: A4, for a headline people can read from a distance.
- Brochure: A4 folded in half to A5, or folded in thirds to DL. Set the file up as flat A4 with bleed, and mark the fold lines.
- Menu: A4 for a single sheet, or A3 folded to A4 if you need four pages.
- Booklet or handout: A5, the a5 size being 148 x 210 mm, half of A4.
Anything bigger than A3 is poster or signage territory with its own sizes; that’s banner design. And the smallest piece in most print sets, the card, has its own rules too: business card design.
Or hand the whole job to our brochure and flyer design team.
Which Australia Post letter size does each piece fit?
Australia Post’s letter categories are set by size, thickness and weight, so the format you pick decides which one a piece goes in. Its size and weight guidelines set the limits, as at November 2026:
- Small letter: “up to 130mm x 240mm”, “up to 5mm thick” and “up to 250g”. Australia Post also says small letters “should be larger than 88mm x 138mm”, so they don’t get trapped in machinery.
- Large letter: up to 260 x 360 mm, up to 20 mm thick and up to 500 g.
Australia Post says a letter over its maximum size and weight is considered a parcel.
Here’s how the common print sizes fall. The sizes are Australia Post’s limits; the fit is our reading of them.
What you’re sending | Size | Australia Post category |
|---|---|---|
DL flyer in a DL envelope | 110 x 220 mm envelope | small letter (fits within 130 x 240 mm, under 5 mm and 250 g) |
A5 flyer, flat | 148 x 210 mm | large letter (wider than 130 mm) |
A4, flat | 210 x 297 mm | large letter (fits within 260 x 360 mm) |
The A5 row catches people out. A5 feels small, but at 148 mm wide it’s over the small letter width. For the small letter category, use DL in a DL envelope.
Thickness counts too: a thick bundle can push a DL envelope past 5 mm.
How do I set up an A4 print file?
- Set the page to 210 x 297 mm. This is the trim size, the finished page.
- Add 3 mm bleed on all sides, so the file is 216 x 303 mm overall. Use more if your printer asks for it.
- Mark the safe zone. Set margins or guides 3 to 5 mm inside the trim and keep all text and logos within them.
- Place images at 300 dpi at their printed size. A full-bleed A4 background needs 2551 x 3579 pixels.
- Export a print PDF with crop marks and bleed included. In InDesign, Adobe’s steps are File > Export, choose Adobe PDF (Print), then under Marks and Bleeds tick Crop Marks and Use Document Bleed Settings.
- Open the PDF and check it. Nothing important should sit outside the safe zone, and the background should run to the bleed edge on every side.
Before you send it, run a last check:
- Is the page 216 x 303 mm with bleed, not 210 x 297 mm?
- Does every background and edge photo reach the bleed line?
- Are phone numbers, web addresses and logos inside the safe zone?
Adobe’s tutorial ends on a PDF for a reason: it carries the bleed and crop marks with the file. If you’re sending a logo or photo on its own, see which file type to send the printer.
The bottom line
Design at 216 x 303 mm, print at 210 x 297 mm
A4 is 210 x 297 mm, or 2480 x 3508 pixels at 300 dpi. For print, add 3 mm bleed each side to make 216 x 303 mm (2551 x 3579 pixels), and keep text 3 to 5 mm inside the trim. A DL flyer is 99 x 210 mm, not the 110 x 220 mm of its envelope, and in that envelope it posts as a small letter, while flat A5 and A4 go as large letters. Check your printer’s own file guide before you export, because some want more bleed.
Want flyers or brochures set up right before they go to print?
We’ve been doing design and marketing work for 10+ years and have 100+ Google reviews. See our brochure and flyer design service. Month-to-month. No lock-in contracts.
Important FAQs
What size is A4 in cm?
21 x 29.7 cm. In millimetres that’s 210 x 297 mm, the size set by ISO 216.
What is A4 size in pixels?
2480 x 3508 pixels at 300 dpi. With 3 mm bleed on every side for print, it’s 2551 x 3579 pixels.
How big is A5 compared with A4?
A5 is half of A4: 148 x 210 mm against 210 x 297 mm.
What size is a DL flyer?
99 x 210 mm, a third of an A4 sheet. With 3 mm bleed it’s 105 x 216 mm. The DL envelope it goes in is larger, at 110 x 220 mm.